
Permissions for Sitelable Profile
This topic describe the procedure on how you can set the permissions for Sitelable profile.
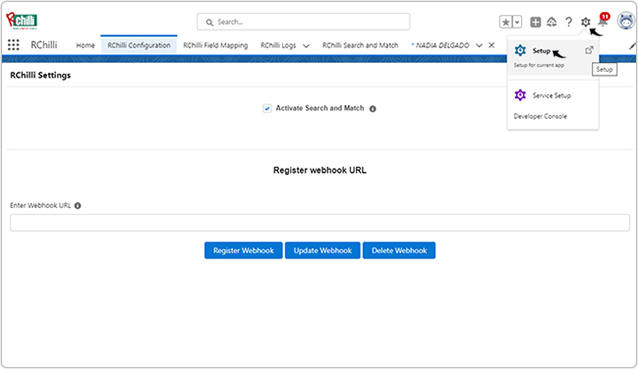
- Click on the Setting icon on the right side of the page and select
Setup from the drop-down options.
- Search for the Sites and select Sites from the drop-down
options.
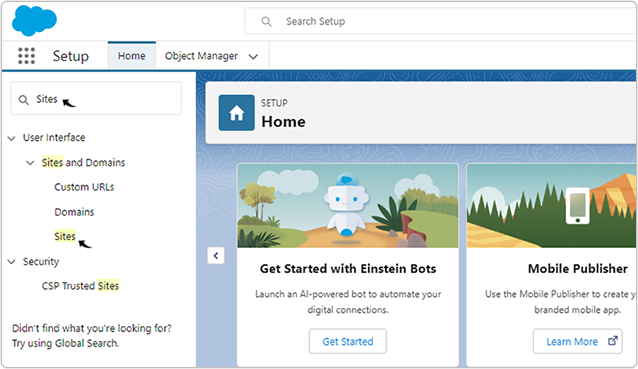
- On the Sites page, click on the Sitelabel link.

- On the Sitelabel page, click Public Access Settings.Note: Refer Permission to User on how to set permission to the user for the email integration.

- Go to the Field-Level Security block and click Contact [View].Note: This is for the resume field mapping. You have to select the object that is related with the resume fields.

- Make sure all the fields listed in the Field Name column, given Read
Access and Edit Access, if not, click Edit and make sure you
have give both access for all the fields. Once you given access, click Back to
Profile to go back to the Sitelabel Profile page.

- Go to the Field-Level Security block again and click Account
[View].Note: This is for the Job field mapping. You have to select the object that is related with the Job fields.

- Make sure all the fields listed in the Field Name column, given Read
Access and Edit Access, if not, click Edit and make sure you
have give both access for all the fields. Once you given access, click Back to
Profile to go back to the Sitelabel Profile page,

- Go to the Custom Field-Level Security section, click [View] for all
the custom fields (for example Achievement, Qualification, Certification, etc.), and
make sure that all the fields given Read Access and Edit Access, if
not, click Edit and give both the access.Note: Make sure you have clicked [View] against RChilli Log and given Read Access and Edit Access for all the fields. This action is necessary so that you can view the details in RChilli Logs, to know more details, refer RChilli Logs.

- Go to the Standard Object Permissions section, make sure that Job related
object (For example, Accounts) and resume related object (for example, Contacts) are
given Read and Create access. If not, click Edit (see next
step) and give access.

- Go to the Custom Object Permissions section, make sure that all custom
objects, for example Achievements, Certifications, Skills, etc are given Read
and Create access. If not, click Edit and give access.Note: Make sure that you have selected the checkbox and enabled the Read and Create access for RChilli Logs. RChilli Logs must be enabled so that all the logs for email integration are updated in RChilli Logs section.

- Go to the Enable Apex Class Access section, click Edit.
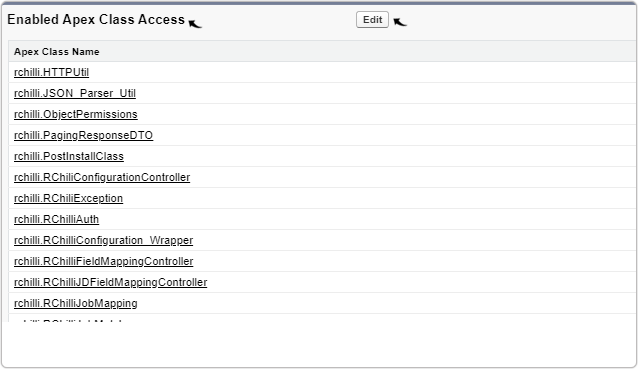
- Select all the fields in the Available Apex Classes and click Add to move the
fields to the Enable Apex Classes block. Click Save to save the
changes.
