
Upload/Update Resume
This topic describe the procedure on how to upload resumes in the Salesforce using RChilli application.
Once you are connected successfully with RChilli (see Configuring the Integration), follow the below steps and upload
resumes in the Salesforce.
- Do the Resume Field Mapping, see Resume Field Mapping for more details.
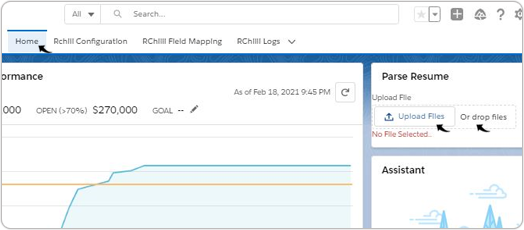
- Once the Resume Field Mapping is completed, return to the Home
page and upload the resume in the Parse Resume block.Note:
- The Parse Resume block can be placed on any application page in Salesforce. For more details, see Placing the Parse Resume Block.
- Users can select the Upload Files tab to upload a resume, the parser will parse the resume and display the information based on the fields selected during Resume Field Mapping. You can also select Or drop Files tab to drag and drop resume into this area.
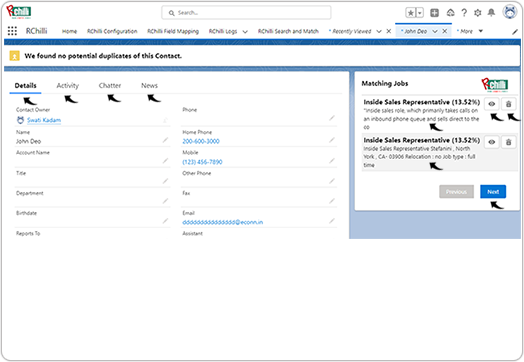
- Once the resume is successfully uploaded, a new tab is displayed with
the Matching Jobs details (resumes matches with the jobs you uploaded in
the Upload Job Description). You can navigate to the
Details, Activity, Chatter, and News tabs to
view more details about candidates.Note:
- The Matching Jobs block display all the matching jobs relevant to the candidate with the matching score. You can click View icon to view the job details or click the Delete icon to delete the matching job.
- You can click Next to view more matching jobs.
- In the Details tab, you can see the values for those fields of the objects that you selected during Resume Field Mapping.
- If the Matching Jobs block is not displayed, you must do the customization of the page as mention in Customization on the Resume page.
 Note: If you upload/update a same resume (resume with same email ID), then the resume data gets updated (old data gets deleted, and resume is updated with new data).