Add Taxonomy
This topic describe the procedure on how you can add the skill and job profile taxonomy.
Add Skill Taxonomy
Follow the below procedure to add skill taxonomy.
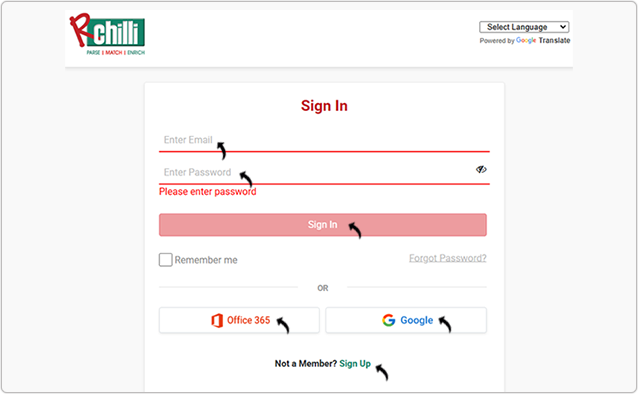
- Enter your Email and Password to log in to your RChilli My
Account client portal or use Office 365 or Google to log in as
necessary. You must sign up if you do not have registered account.Note: Contact support@rchilli.com for My Account portal access, subscription plans, pricing, and for any further support.
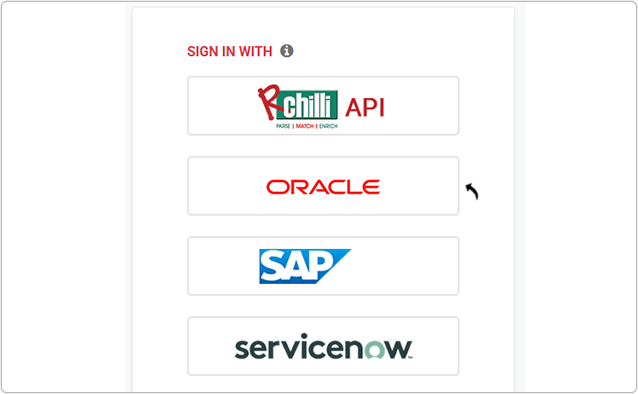
- Click ORACLE to log in to the RChilli My Account client portal for
Oracle.
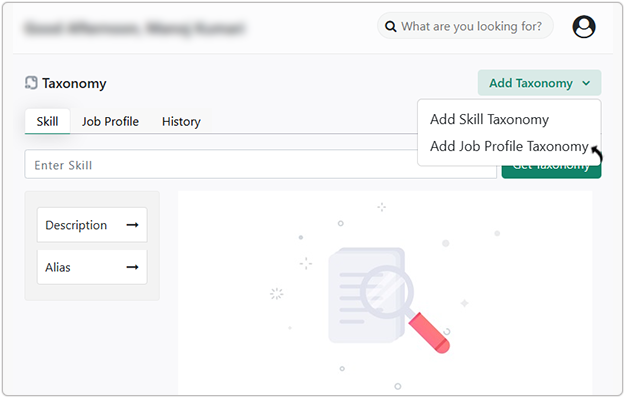
- Navigate to .
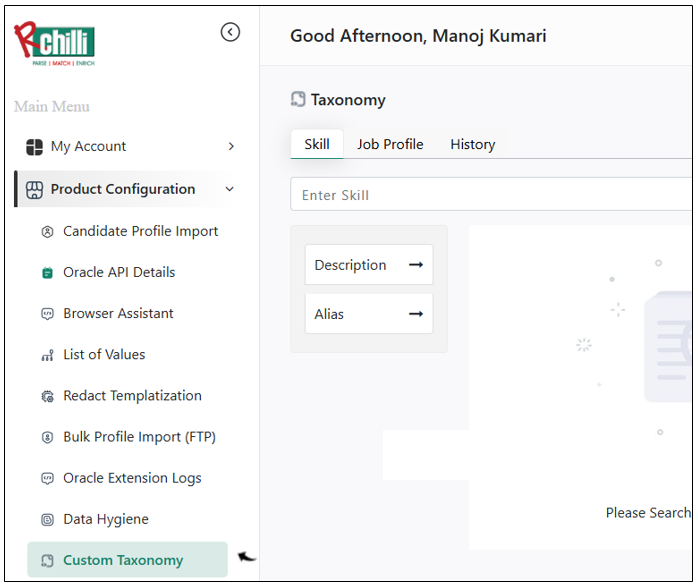
- From the Add Taxonomy drop-down list, select Add Skill
Taxonomy.

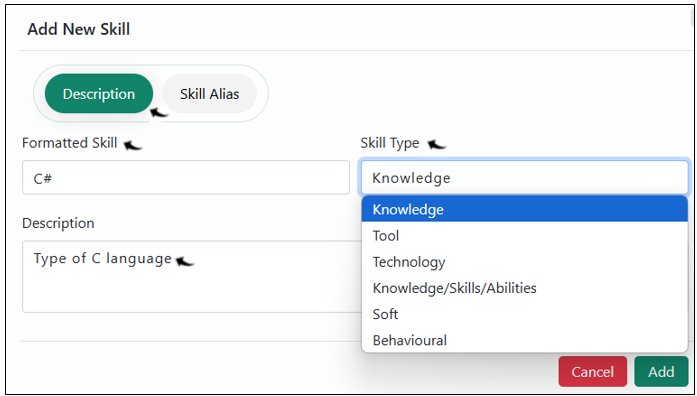
- On the Add New Skill pop-up, fill in the following fields:
- Description: Fill the description details for the skill as
follows:
- Formatted Skills: Enter the standardized name of the skill to be added.
- Description: Provide a brief description of the skill.
- Skill Type: Select the appropriate skill type (e.g.,
Knowledge, Tool) from the drop-down.
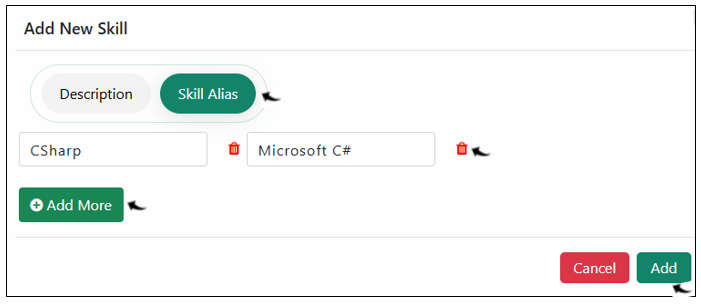
- Skill Alias: Fill the skill alias details as follows:
- Add alternative names or aliases for the skill.
- Click Add More to add multiple aliases as needed.
- Use the Delete icon to remove any alias if required.
- Once the fields for the Description and Skill
Alias are filled, click Add to save the new
skill taxonomy entry.
- Description: Fill the description details for the skill as
follows:
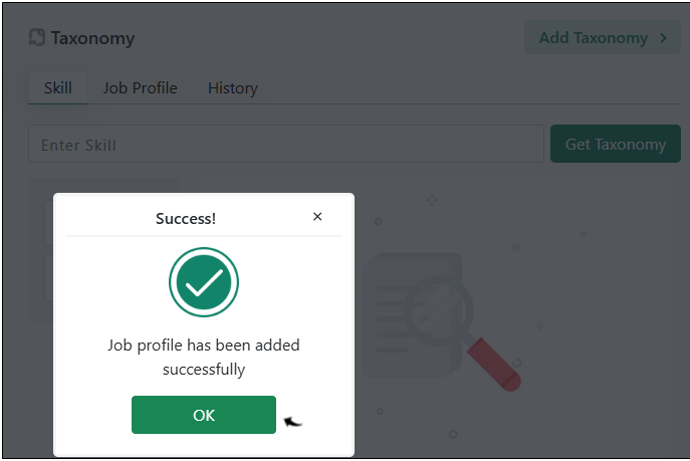
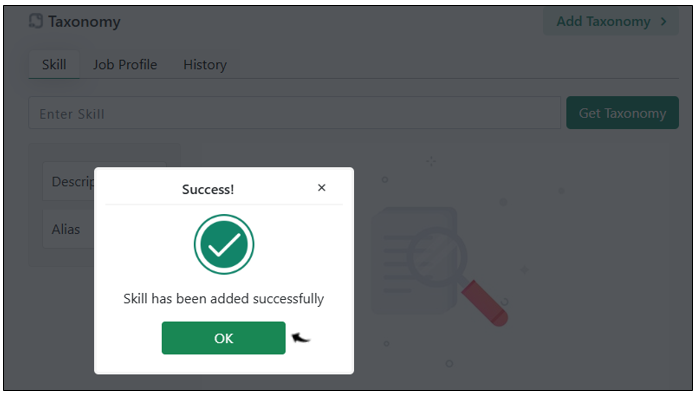
- A Success pop-up will be displayed once the skill details are added
successfully. Click OK on the Success pop-up.
Add Job Profile Taxonomy
Follow the below procedure to add Job Profile taxonomy.
- From the Add Taxonomy drop-down list, select Add Job Profile
Taxonomy.
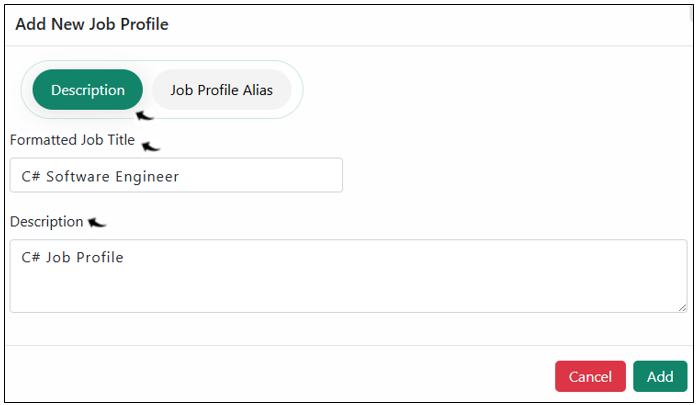
- On the Add New Job Profile pop-up, fill in the following fields:
- Description: Fill the description details for the Job Profile
as follows:
- Formatted Job Title: Enter the standardized name of the Job Profile to be added.
- Description: Provide a brief description of the Job
Profile.
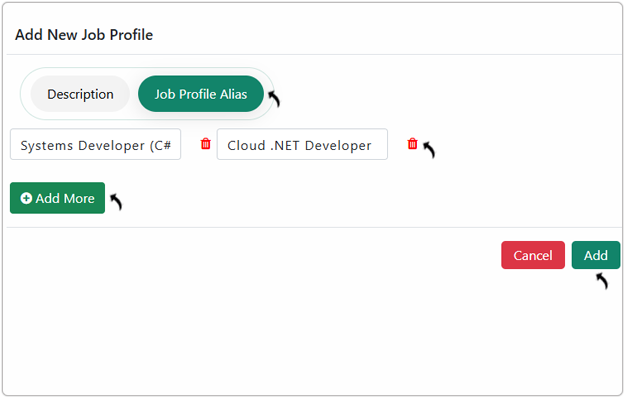
- Job Profile Alias: Fill the job profile alias details as
follows:
- Add alternative names or aliases for the job profile.
- Click Add More to add multiple aliases as needed.
- Use the Delete icon to remove any alias if required.
- Once the fields for the Description and Job
Profile Alias are filled, click Add to save
the new job profile taxonomy entry.
- Description: Fill the description details for the Job Profile
as follows:
- A Success pop-up will be displayed once the job profile details are
added successfully. Click OK on the Success pop-up.