
Create and Export Report of Content Item IDs
This topic describe the procedure on how you can create report of the content item IDs and export it to the PDF file.
Follow the below steps to create report of the content item IDs and export it to the PDF
file.
- Visit Oracle Cloud HCM Application and Sign In to your account.
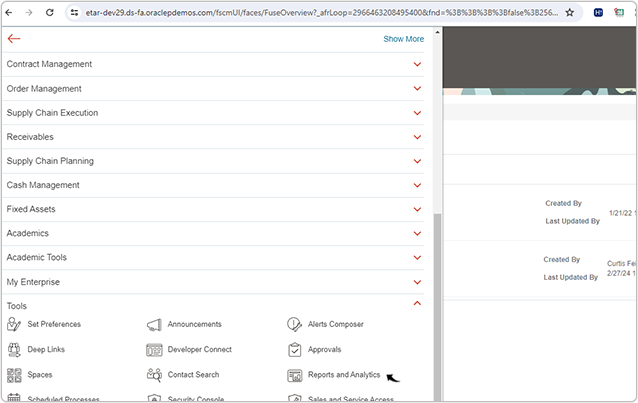
- Click on the Navigator and go to Tools > Reports and
Analytics.
- Click on the Reports and Analytics.
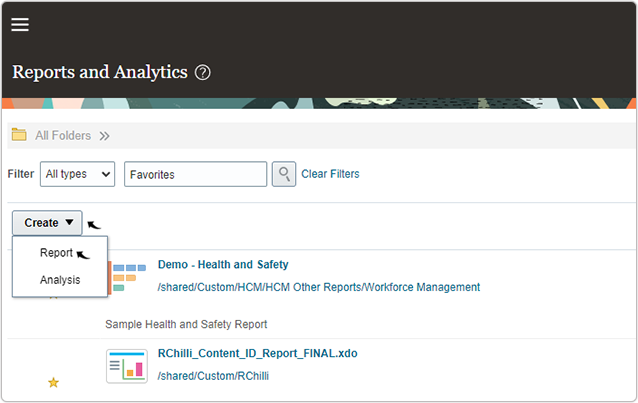
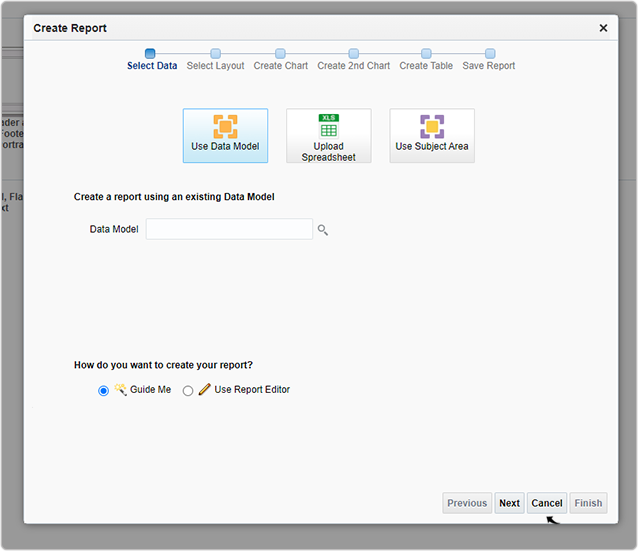
- On the Reports and Analytics, click Create and select
Report from the drop-down .
- Click Cancel and close the Create Report pop-up.
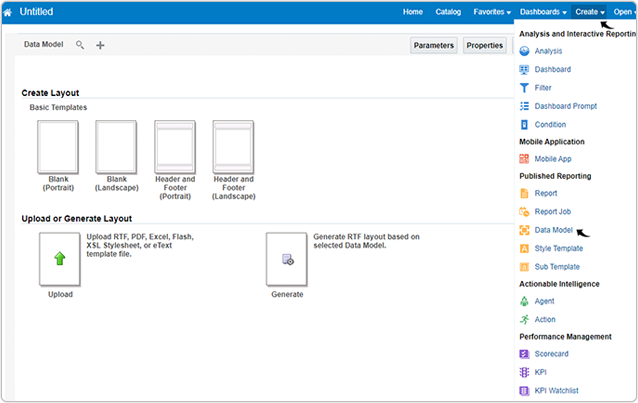
- Click Create and select Data Model from the drop-down.
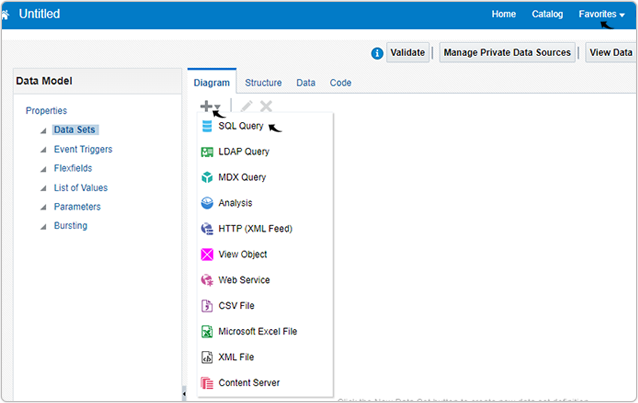
- Expand the Diagram tab and click SQL Query.
- On the SQL Query pop up, do the following:
- Enter a Name for the SQL query, for example: RChilli_ContentItemID_DataModel
- Select ApplicationDB_HCM for the Data Source field.
- Select Standard SQL for the Type of SQL field.
- On the SQL Query box, enter below query and click
OK.
select
B.NAME,
TO_CHAR(A.CONTENT_ITEM_ID)
from HRT_CONTENT_ITEMS_B A
, HRT_CONTENT_ITEMS_TL B
where A.CONTENT_ITEM_ID = B.CONTENT_ITEM_ID
AND A.BUSINESS_GROUP_ID = B.BUSINESS_GROUP_ID
AND B.LANGUAGE = 'US'
AND A.CONTENT_TYPE_ID = :P_CONTENT_TYPE_ID
AND TRIM(B.ITEM_DESCRIPTION) IS NOT NULL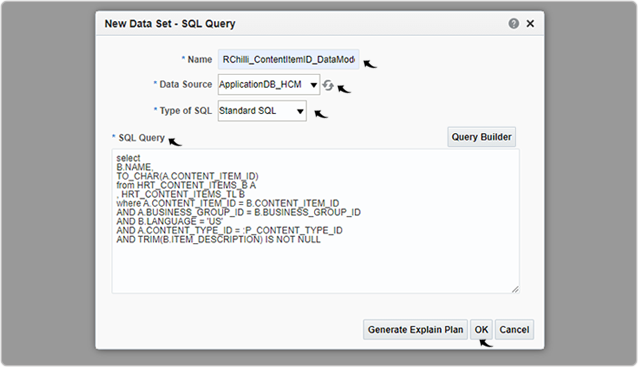
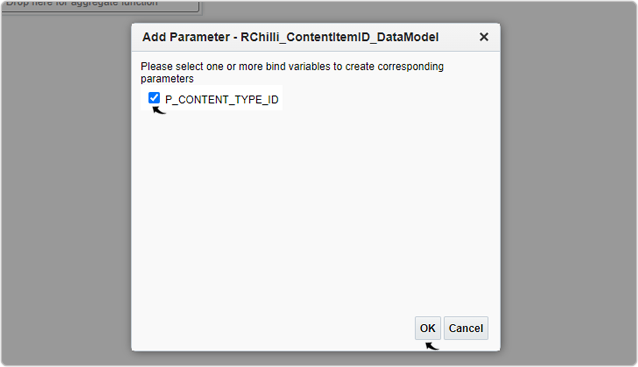
- On the Add Parameter pop-up, select the P_CONTENT_TYPE_ID
check-box and click OK.
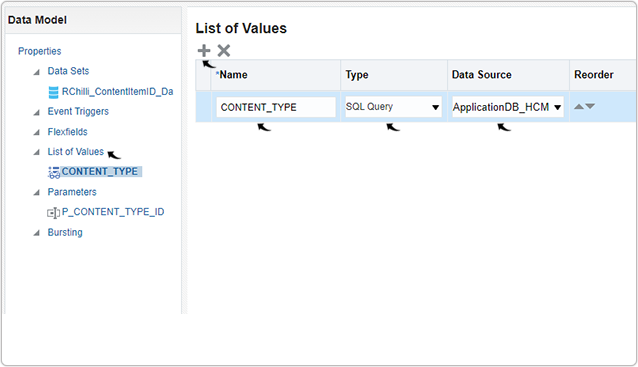
- Click on the List of Values on the left-side navigation panel. Click
+ icon and fill the fields as mentioned below:
- Name: CONTENT_TYPE
- Type: SQL QUERY
- Data Source: ApplicationDB_HCM
- For the CONTENT_TYPE: Type: SQL Query block, enter the below SQL
query:
SELECT
CONTEXT_NAME,
CONTENT_TYPE_ID
FROM HRT_CONTENT_TYPES_B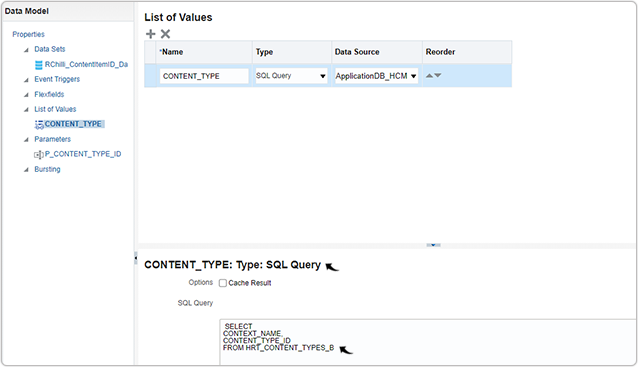
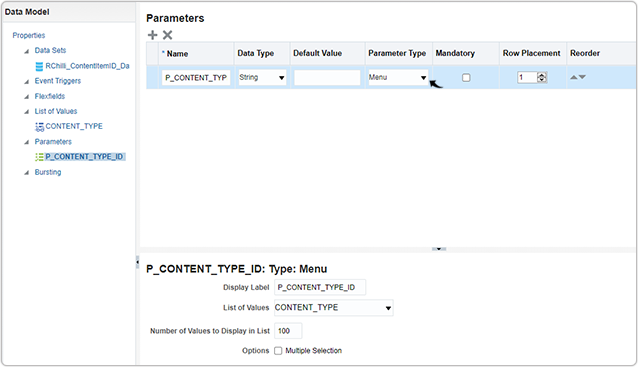
- Click on the P_CONTENT_TYPE_ID on the left-side navigation panel and
select Menu from the Parameter Type drop-down.
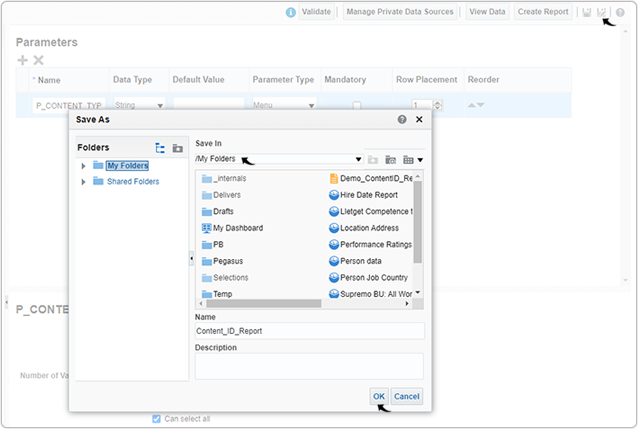
- Click on the Save icon and on the Save As pop-up, select the
folder where you want to save the data model and click OK.
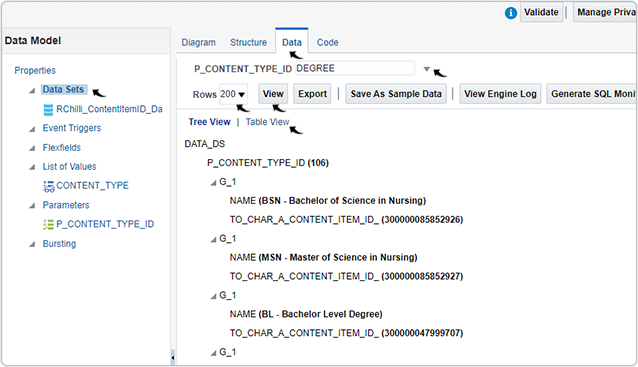
- Click on the Data Sets on the left-side navigation panel and do the
following:
- Click on the Data menu.
- Select DEGREE from the P_CONTENT_TYPE_ID drop-down.
- Select 200 from the Rows drop-down.
- Click View to view the DEGREE report.
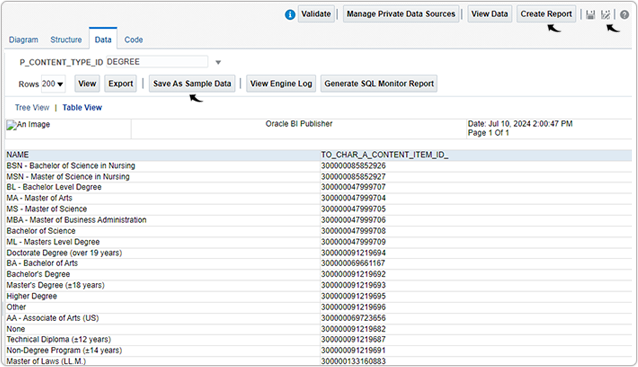
- Click Table View to view the DEGREE report in the tabular
format.
- On the table view, click on the Save As Sample Data and then click on
Save icon. Once saved, click on the Create Report.
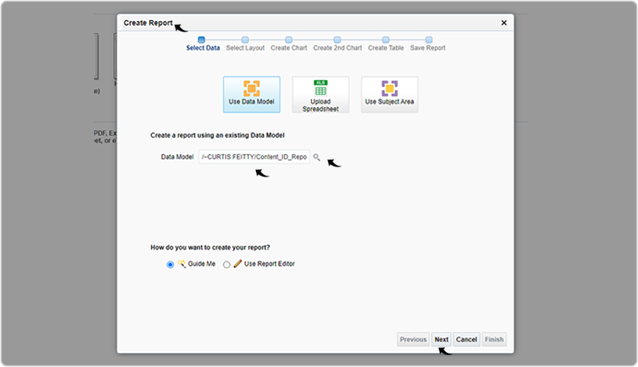
- On the Create Report pop-up, make sure the correct Data Model is
selected and click Next.Note: You can click on the Search icon and select different Data Model as necessary.
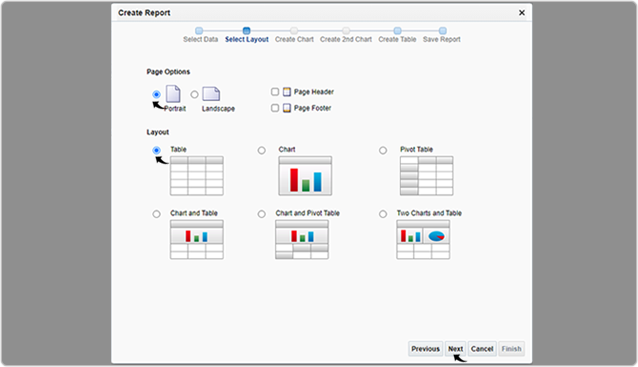
- Select Portrait for the Page Options and Table for the
table Layout.Click Next after your selection.
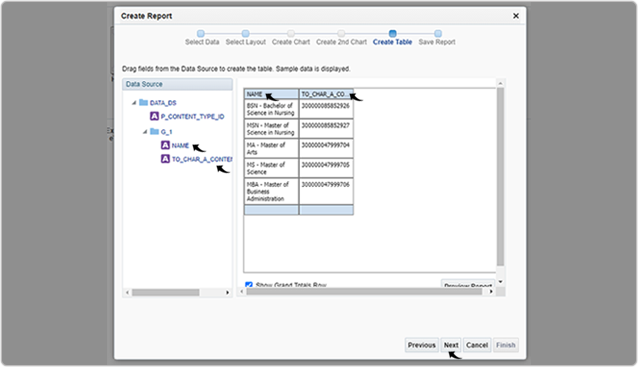
- From the Data Source, drag the NAME and put into the box to create
a column for the table. Similarly, drag TO_CHAR_A_CONTENT_ID_ into the
box for another column.
- Click Next once you created the table.
- Click Next once you created the table.
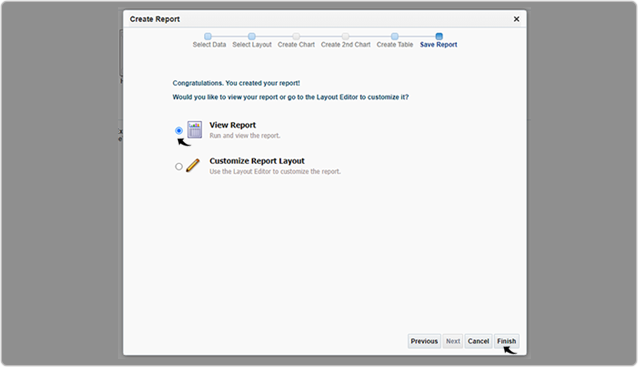
- The View Report option is default selected, click Finish to view
the report.
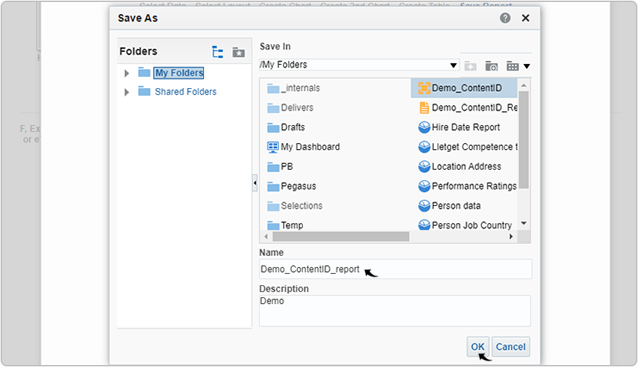
- You can give a Name to the report and save it in the My Folders.
Click OK to save the report.
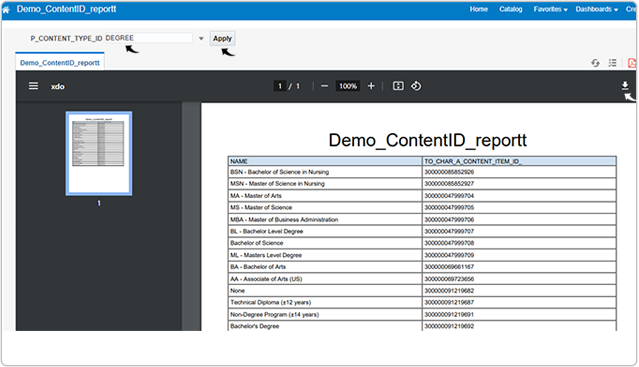
- To generate report for the Degree and the Degree Content ID, select
DEGREE from the P_CONTENT_TYPE_ID drop-down and click
Apply.
- Click on the Print icon to down the report in the PDF format.
- Similarly, you can select CERTIFICATION, LANGUAGE, etc.,
from the P_CONTENT_TYPE_ID drop-down and generate report as
necessary.
- Use the generated content ID report of Degree, Language, Certification, Schools and map to the RChilli fields. See List of Values Mapping in Myaccount.