Job Parser in My Account
This topic explains the procedure on how to parse JD in RChilli My Account.
Follow the below procedure to parse a JD in RChilli My account.
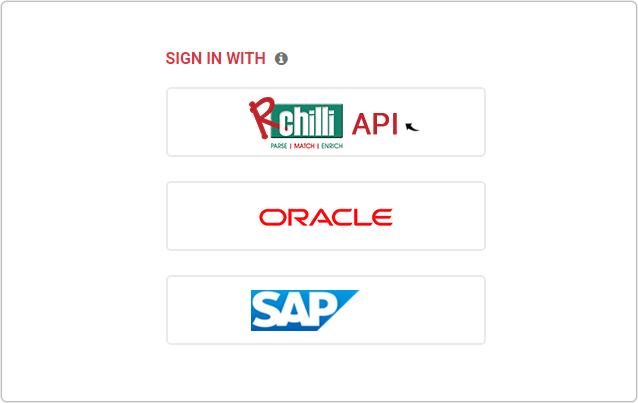
- Enter your Email and Password to log in to your RChilli My Account
client portal or use Office 365 or Google to log in as necessary.
You must sign up if you do not have registered account.Note: Contact support@rchilli.com for My Account portal access, subscription plans, pricing, and for any further support.

- Click RChilli API to log in into RChilli My Account portal.

- On the Integration (Demo) tab, select the JD Parsing 3.1 on the
navigation panel, and click Show Advance Inputs tab and expand.

- Do a check and make sure that the Service URL, User Key,
Version, and SubUser ID details are entered and valid. For
more details on API keys, refer API Authentication.

- On the Upload a JD box, Drag and drop a JD file, or click to browse a
file and click Parse JD.

- RChilli JD parser extracts the JD information and saves the information in the
required attributes already defined. The following are the tabs displayed in the
JD parser output:
- JD parser request parameters in the JSON format: Click Request
JSON to see the JD output in the JSON format.

- JD parser output in the tabular format: Click Parsed
Results to see the JD output in the tabular format containing
Primary Fields and Additional Fields.

- JD parser response in the JSON format: Click Response JSON
to see the JD output in the JSON format. Note: Click Download symbol to download the JSON output.

- JD parser request parameters in the JSON format: Click Request
JSON to see the JD output in the JSON format.
