Import Agent Configuration
This topic describe the procedure on how to import the Agent configuration into Oracle Recruiting Cloud.
Procedure for Oracle Version Prior to 26 A
The following steps describe the procedure on how to import the AI Agents package in
the Oracle Recruiting Cloud for Oracle version Prior to 26 A.
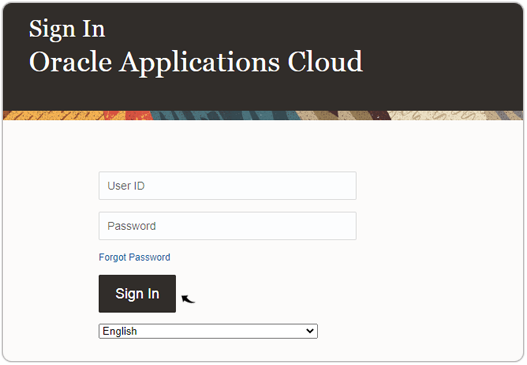
- Visit Oracle Cloud HCM Application and Sign In to your account.Note: You must have the Application Implementation Consultant Role in addition to the Recruiter and Recruiting Administrator role in order to configure the RChilli integration. Contact Oracle admin for more details.
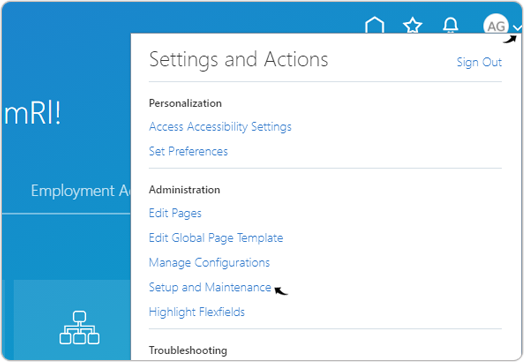
- Click the Settings and Actions menu and select Setup and
Maintenance from the drop-down.
- Click the Tasks
 icon and select Manage Configuration
Packages from the drop-down.
icon and select Manage Configuration
Packages from the drop-down.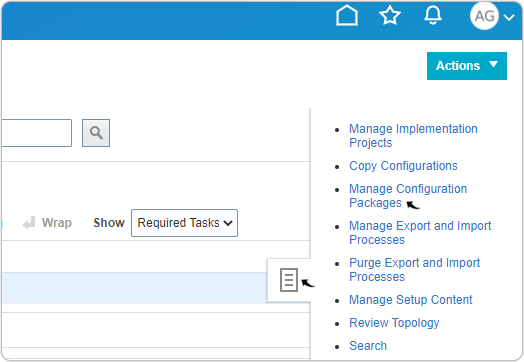
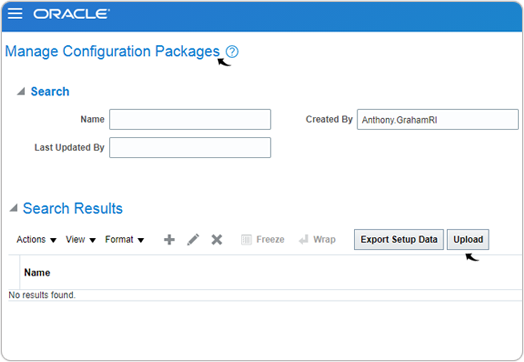
- On the Manage Configuration Packages page, click Upload to
upload the RChilli Configuration Package.
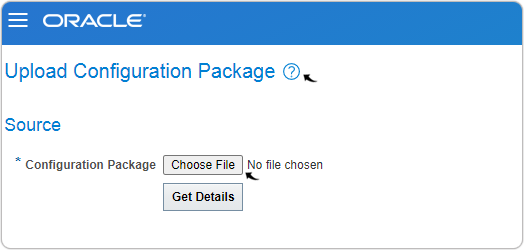
- On the Upload Configuration Package page, click Choose File
and upload the RChilli Configuration Package.Note:
- Contact RChilli Support for the Configuration package for the AI Agents.
- Each AI agents will have their own configuration package and you have to follow this procedure for each package to upload.
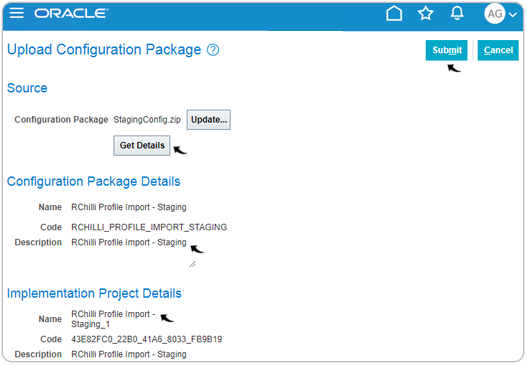
- Once the RChilli Configuration Package is uploaded, click Get
Details to view and verify if the correct files are uploaded. If the
data uploaded is correct, click Submit.Note: The below image+ shows the details for Job Application Analyser, similarly you have to follow the procedure for other agents.
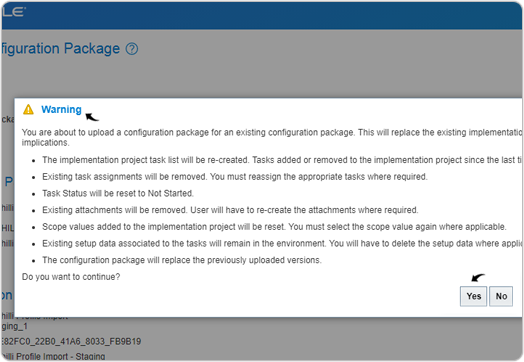
- If the configuration package was previously uploaded, a Warning
pop-up will be displayed, click Yes if prompted.
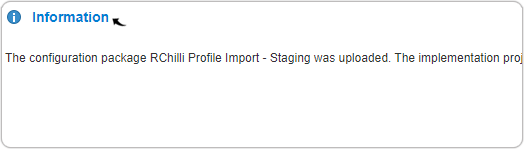
- Click OK to dismiss the Information pop-up once the
configuration files are replaced.
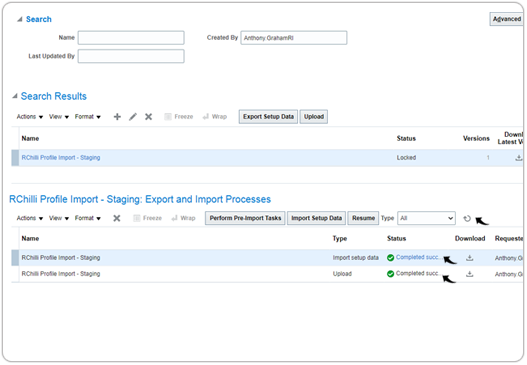
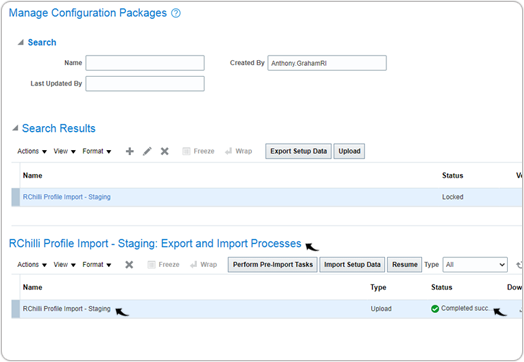
- The uploaded files will be imported under the Export and Import
Processes section and the Status must be Completed
successfully.
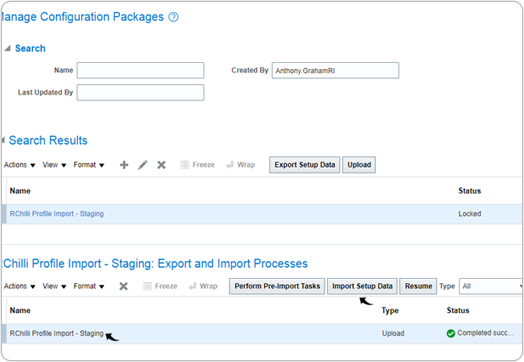
- On the Export and Import Processes section, select the row for the
uploaded configuration files and click Import Setup Data.
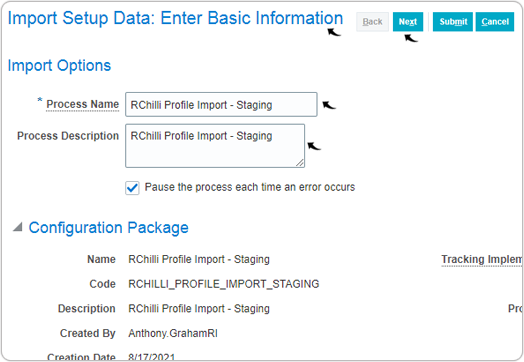
- On the Import Setup Data: Enter Basic Information page, edit the
default Process name and Process Description as necessary and
click Next.
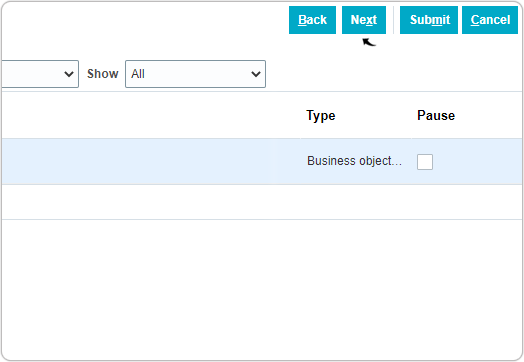
- On the Import Setup Data: Select Pauses for External Import page,
click Next.
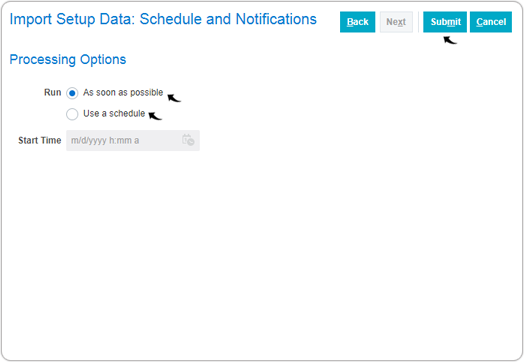
- On the Import Setup Data: Schedule and Notifications page, select the
Processing Options as follows and click Submit.
- As soon as possible: This processing option, if selected, the import process starts immediately once you click Submit button.
- Use a schedule: Choose this processing option if you want to schedule the import process to a later date.
- On the Manage Configuration Package page and under the Export and
Import Processes section, check the Status and wait till it
changes from Not Started to Completed successfully.Note: Click Refresh
 icon until the Status
changes from Not Started to Completed successfully. This
change in Status takes a couple of minutes.
icon until the Status
changes from Not Started to Completed successfully. This
change in Status takes a couple of minutes.